Six-Sigma Journal
One of the crafts I really enjoy is bookbinding. Occasions to create custom books don't seem to arise all that often, so when they do, it's rather a treat. Recently my husband embarked on a Six-Sigma project. The current phase of the project involves data collection, and I wanted to help him out by creating a data log.
I generated the title page and log entry pages in Microsoft Word, setting my paper size to a custom 5.5" x 4.25" (one quarter of a regular sheet of paper). I mirrored the margins, and set the inner margin larger than the outer margin (0.75" vs. 0.5") to allow for the binding. I actually only needed to create two log entry pages, one for each facing page. To print, I selected 4 pages per sheet in the "zoom" parameters, and indicated what order to print the pages (4,1,4,3). Then I flipped the paper over and printed the reverse side (2,3,4,3). The interior pages were easy; for both sides I just printed pages (4,3,4,3). (Page 2 was blank; I used this as the opposite side of the title page, and for the very last page.)
Once I had everything printed out, I cut the sheet in half so that I had two two sets of facing pages. I stacked up 5 of these together and folded them to form one section (5 folios, 20 pages). This particular journal had two sections. Once I had both sections, I cut holes along the fold and stitched the sections together.
A trip to JoAnn's was all I needed to get the decorative endpapers (scrapbooking supplies) and cover material (fabric). The endpapers are cut to twice the width of one page (5.5" x 8.5"), and folded (printed side in) to form a single folio. I then applied glue to a 1/4" strip along the fold of the endpapers, and attached them to the front and back sections of the booklet.
The book boards were made from some cardboard I had around the house, and covered with the fabric I purchased from JoAnn's. The spine and decorative corners were made from a contrasting fabric. Next, I carefully laid out the cover and the interior of the book, and glued the endpapers to the inside of each cover.
And...
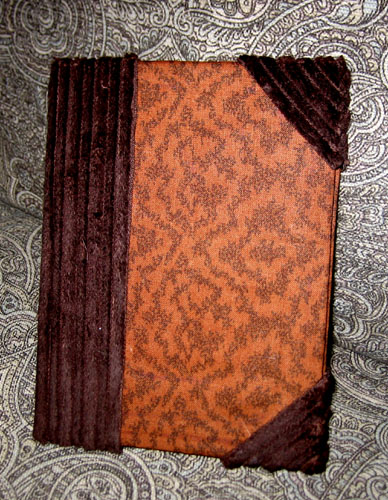
Voila! The finished journal.
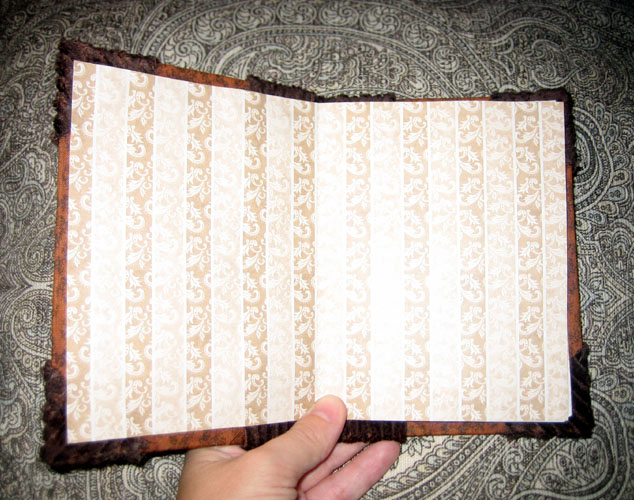
Decorative endpapers
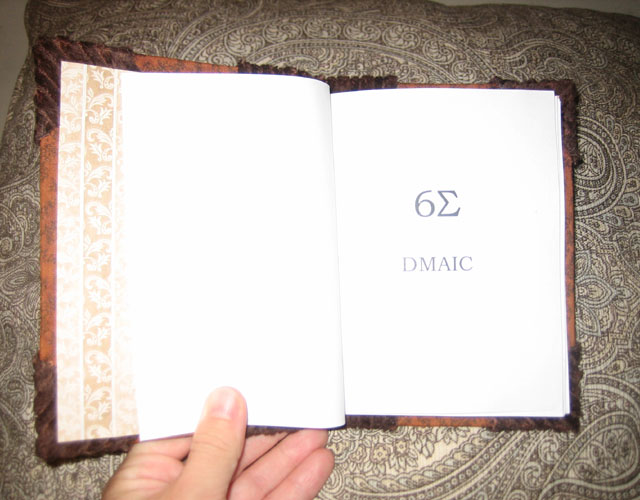
Title page
I'd show you the log entry pages, but that information is classified. ![]()
Useful Things I Learned On This Project
On my last bookbinding project, I had a little trouble with the spine; the book didn't seem to behave quite properly when opened. I did two important things differently on this project, and the book opens perfectly.
First, the book boards don't extend all the way to the spine. The left edge of the book board (if you're looking at the front cover) is actually about 1/4" from the bound edge of the interior pages. The spine material covers this gap.
Secondly, when gluing the endpapers to the book board, you don't glue all the way to the fold of the endpaper. Instead, leave a gap — again, about 1/4". This permits the spine material to move freely when you open the book.


Reasonable Faith